
TL;DR:
- Most tenant improvements in Metro Vancouver require permits, especially for structural or mechanical work.
- Proper planning, budgeting, and understanding permit timelines help avoid costly delays and fines.
- Engaging with professionals and proactively managing approvals can significantly improve project outcomes.
Imagine signing a lease on a promising commercial space in Metro Vancouver, only to discover three weeks into construction that your contractor pulled the wrong permit, or worse, none at all. Work stops. Fines accumulate. Your opening date slips by months. This scenario plays out more often than most property owners expect, and it almost always traces back to skipping the preparation stage. Whether you are planning a retail buildout in Surrey, an office renovation in Burnaby, or a full interior overhaul in Vancouver proper, understanding the rules before you break ground is what separates a smooth project from a costly one. This guide walks you through every stage, from regulations and budgeting to permits, inspections, and the mistakes that catch most owners off guard.
Table of Contents
- What to know before you start: requirements and regulations
- Essential steps to plan and budget your tenant improvement
- Navigating permits, approvals, and inspections
- Common mistakes and troubleshooting tips
- A fresh perspective: what most tenant improvement guides won't tell you
- Get expert help with your Metro Vancouver tenant improvement
- Frequently asked questions
Key Takeaways
| Point | Details |
|---|---|
| Permits are essential | Most Metro Vancouver tenant improvements need permits—plan early to avoid costly delays. |
| Project scope drives cost | Defining your project and preparing for benchmarks ensures realistic budgets and successful outcomes. |
| Compliance and value go together | Meeting regulations is vital, but smart planning maximizes long-term return for both tenants and owners. |
| City requirements vary | Every municipality has its own processes; check local timelines, especially for complex projects. |
What to know before you start: requirements and regulations
Before planning work or hiring contractors, it is essential to know what the regulations require. Tenant improvements (TI) in Metro Vancouver are governed by a combination of the BC Building Code, local municipal bylaws, and in some cases, strata corporation rules. Not every change to a commercial space triggers a permit, but far more do than most owners realize.
When do you need a permit?
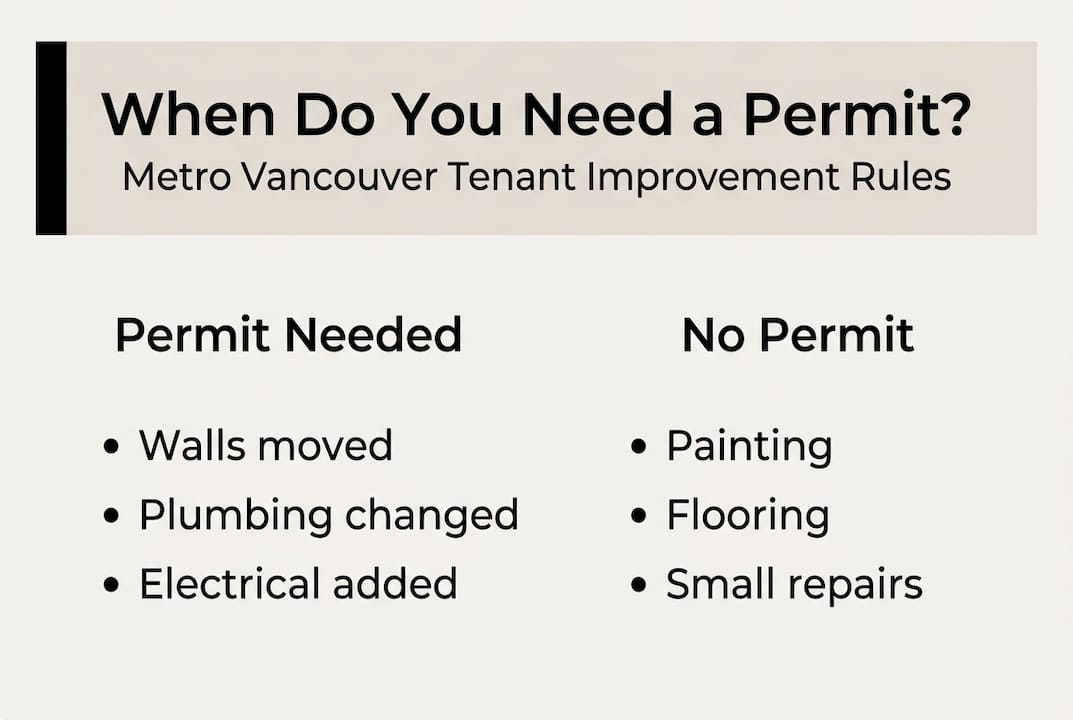
Cosmetic updates like repainting walls, replacing flooring, or swapping light fixtures generally do not require a permit. However, permits are required for most TI projects in Metro Vancouver, and each city has its own application and review timelines. Work that touches structural elements, mechanical systems, plumbing, electrical, or fire suppression almost always needs municipal approval.
Here is a quick breakdown of what typically does and does not require a permit:
- Permit required: New or relocated walls, HVAC changes, electrical panel upgrades, plumbing additions, sprinkler modifications, change of use
- Usually exempt: Paint, carpet, shelving that is not structural, minor millwork replacements
- Depends on scope: Ceiling work, lighting layout changes, accessibility upgrades
Key documents you will need
Regardless of which city you are working in, most applications require a completed application form, architectural drawings or floor plans, a letter of authorization from the building owner, and proof of BC Building Code compliance. For older buildings, especially those built before 1990, a hazardous materials survey (covering asbestos and lead) is often mandatory before any demolition begins.
| City | Minor TI review time | Complex TI review time | Notable requirement |
|---|---|---|---|
| Vancouver | 4 to 8 weeks | Up to 16 weeks | Energy upgrade if project exceeds $20,000 |
| Surrey | 2 to 4 weeks | 6 to 10 weeks | Streamlined process for minor works |
| Burnaby | 3 to 6 weeks | 8 to 12 weeks | Strata approval may be required |
For strata commercial units, you also need written approval from the strata council before submitting to the city. Missing this step is one of the most common early mistakes. Reviewing permit requirements in Vancouver before you finalize your project scope can save weeks of back-and-forth.
Statutory warning: Proceeding with non-cosmetic work without the required permits can result in stop-work orders, fines, mandatory demolition of completed work, and complications when selling or leasing the property.
Pro Tip: Book a pre-application meeting with your city's building department before submitting anything. Most municipalities offer this free of charge, and it can surface issues that would otherwise delay your project by weeks.
Essential steps to plan and budget your tenant improvement
Once requirements are clear, you can move forward with practical planning for your project. Rushing into design or construction without a solid plan is one of the top reasons TI projects run over budget and timeline.
Setting your project goals
Start by defining what success looks like. Is the goal improved workflow for staff? Meeting accessibility standards? Attracting a specific type of tenant? Clear goals shape every downstream decision, from layout to materials to contractor selection.
Building your budget
Industry benchmarks can validate local cost ranges for tenant improvements, which in Metro Vancouver typically run from $75 to $250+ per square foot depending on finish level and scope. Use these ranges as a starting point, then layer in local quotes.

| Finish level | Estimated cost per sq ft (Metro Vancouver) | Typical scope |
|---|---|---|
| Basic | $75 to $110 | Paint, flooring, minor electrical |
| Mid-range | $110 to $175 | New partitions, HVAC updates, millwork |
| High-end | $175 to $250+ | Full buildout, custom finishes, structural work |
For a realistic view of major renovation costs in the region, factor in permit fees, design fees, contingency (typically 10 to 15%), and any landlord-required reinstatement at lease end.
The planning sequence
- Conduct a site assessment to document existing conditions
- Engage an architect or designer to develop drawings
- Obtain contractor estimates based on design documents
- Submit for city permits with complete documentation
- Finalize your construction schedule and milestone dates
Contractor vs. design-build
Hiring a general contractor and a separate designer works well for straightforward projects. For complex or fast-tracked work, a design-build firm handles both under one contract, reducing coordination gaps. Either way, vet your team carefully and check references. Browsing tenant improvement project examples from completed local projects gives you a realistic sense of what quality execution looks like.
Pro Tip: Negotiate a Tenant Improvement Allowance (TIA) with your landlord before signing the lease. Many landlords in Metro Vancouver offer between $30 and $80 per square foot for qualified tenants, which can significantly offset your out-of-pocket costs.
Navigating permits, approvals, and inspections
After initial planning and budgeting, the next crucial stage is managing the municipal approval and inspection process. This is where many projects stall, not because of bad design, but because of incomplete or incorrect submissions.
Step-by-step permit application process
- Confirm the correct permit type with your city's building department (tenant improvement, change of use, or both)
- Prepare a complete application package: drawings, forms, owner authorization, and any required engineering letters
- Submit online or in person, depending on the municipality
- Respond promptly to any requests for additional information (RFIs) from the plan checker
- Receive permit approval and post it visibly on site before work begins
Submit applications with checklists and compliance docs because review timelines vary by complexity and municipality. A missing signature or an incomplete floor plan can add two to four weeks to your timeline.
Inspection sequence
Most TI projects in Metro Vancouver require at least three inspections: a pre-construction or site inspection, a rough-in inspection (covering framing, mechanical, and electrical before walls are closed), and a final occupancy inspection. Some projects also require specialized inspections for fire suppression or accessibility compliance.
For a detailed walkthrough of the Vancouver renovation permit process, including which forms apply to which project types, review the city's published checklists before your first submission.
What to do if your submission is rejected: Read the rejection letter carefully, address every item listed, and resubmit as a complete package. Partial resubmissions typically restart the review clock.
Red flags that trigger additional reviews include discovery of hazardous materials during demolition and any change of use that alters parking demand calculations. When finding Vancouver contractors for permitted work, confirm they are familiar with the specific city's submission portal and inspection protocols.
Pro Tip: Ask your contractor to schedule inspections at least 48 hours in advance and have all work ready before the inspector arrives. Failed inspections due to incomplete work are one of the most avoidable sources of project delays.
Common mistakes and troubleshooting tips
Even with the best planning, challenges can arise. Learning from common mistakes saves future time and money.
The most frequent errors property owners make
- Skipping permits for work that clearly requires them, assuming inspectors will not notice
- Defining scope too loosely, which leads to change orders and budget overruns mid-project
- Failing to check for hazardous materials in pre-1990 buildings before starting demolition
- Not accounting for energy upgrade requirements when project costs exceed $20,000
- Overlooking parking review requirements when changing the use of a space
Some updates like painting or flooring do not require a permit, but missing documentation for larger changes can cause major delays, including stop-work orders and mandatory corrections.
What catches most owners by surprise
Energy efficiency upgrades are a common shock. In Vancouver and many Metro municipalities, projects that cross the $20,000 threshold may trigger requirements under the BC Energy Step Code, meaning insulation, glazing, or mechanical systems may need to be upgraded even if that was not part of your original plan. Budget for this possibility from the start.
Change of use is another frequent surprise. Converting a warehouse to a retail space, or a storage room to an office, can require a full parking demand analysis and sometimes physical changes to the site.
If your review stalls: Contact the plan checker directly, reference your application number, and ask specifically what is outstanding. Proactive follow-up, done professionally, almost always moves things forward faster than waiting.
For practical guidance from local construction company tips and broader Metro Vancouver commercial construction advice, reviewing real project case studies helps you anticipate what is coming before it arrives.
Pro Tip: Engage city inspectors early in the design phase, not just at submission. A brief conversation with a plans examiner before you finalize drawings can prevent costly redesigns after the fact.
A fresh perspective: what most tenant improvement guides won't tell you
Most TI guides focus almost entirely on how to avoid permit problems. That is useful, but it sets the bar too low. Regulatory compliance is the floor, not the ceiling, and the most successful property owners treat it that way.
The real opportunity in tenant improvement planning is strategic. Negotiating a strong Tenant Improvement Allowance before signing a lease, phasing upgrades to align with business growth, and building vendor relationships that carry across multiple projects can dramatically improve your return on investment. Industry experts stress that negotiating tenant improvement allowances is key to adding long-term value, not just cost coverage.
Business-minded owners integrate compliance and value creation from day one. They ask not just "what do I need to do to get this approved?" but "how do I build a space that serves my business for the next ten years?" That mindset shift, from reactive to strategic, is what separates owners who get average results from those who get exceptional ones. Thinking about future-proofing your renovations from the planning stage forward is where real competitive advantage is built.
Get expert help with your Metro Vancouver tenant improvement
If you are planning a tenant improvement in Metro Vancouver and want to avoid the delays, surprises, and budget overruns that derail so many projects, working with an experienced local contractor makes a measurable difference.

Multigroup Contracting specializes in commercial tenant improvements across Metro Vancouver, handling everything from permit applications and scheduling to full project execution. Our team knows the local approval processes, the common submission pitfalls, and how to keep your project on time and on budget. Browse our recent tenant improvement results to see the quality and range of work we deliver. Reach out today to discuss your project and get a clear plan in place before construction begins.
Frequently asked questions
Do I always need a building permit for tenant improvements in Metro Vancouver?
Most tenant improvements that alter structure, systems, or use require a permit; cosmetic changes like paint or flooring are generally exempt.
How long does the tenant improvement permit approval process take?
In Metro Vancouver, approvals typically take 2 to 8 weeks for straightforward projects, while complex Vancouver applications can run up to 16 weeks.
What triggers extra requirements, such as energy upgrades or parking reviews?
Projects exceeding $20,000 or involving a change of use may trigger energy efficiency upgrades under the BC Energy Step Code or require a full parking demand review.
Can I do the work myself, or do I need to hire a licensed contractor?
Minor cosmetic work can sometimes be self-managed, but most permitted TI projects require licensed trades to meet BC Building Code and municipal compliance standards.