TL;DR:
- Proper planning, permits, and sequencing are essential for a successful bathroom renovation. DIY work is suitable for demolition, painting, and accessories, but licensed trades must handle plumbing, electrical, and waterproofing. Following a clear process reduces delays, budget overruns, and costly mistakes in the remodeling project.
A bathroom renovation step by step is the structured process of transforming your bathroom through defined phases: planning, demolition, rough-in work, waterproofing, tiling, fixture installation, and final inspections. Skipping or rushing any phase creates costly setbacks that are difficult to reverse. The average full bathroom remodel costs $12,000, though a hybrid approach combining DIY labour with licensed trades can bring that figure down to $3,000–$8,000. Following a clear, sequential process is the single most effective way to stay on budget and pass BC Building Code inspections without rework.
What prerequisites do you need before starting your bathroom renovation?
Preparation determines whether your remodel runs smoothly or stalls at every turn. Homeowners who skip this phase typically face permit delays, mid-project material shortages, and budget overruns that could have been avoided with two to three weeks of upfront work.
Assess your bathroom and define your scope
Start by deciding whether you need a full remodel or a cosmetic refresh. A full remodel replaces plumbing, electrical, tile, and fixtures. A refresh updates surfaces, hardware, and paint without touching the structure. The distinction matters because a full remodel triggers BC Building Code permit requirements, while a cosmetic refresh generally does not. Walk through your bathroom and note the condition of the subfloor, walls, and existing plumbing connections before committing to either path.
Set a realistic budget with a contingency fund
A 10–15% contingency fund is the standard recommendation for any bathroom renovation budget. That buffer covers unexpected findings during demolition, such as corroded pipes, mould behind tile, or damaged subfloor. Budget for materials, labour, permits, and inspections as separate line items. Refer to cost-saving renovation strategies to identify where you can reduce spend without compromising quality.
Finalise your layout before touching anything
Moving plumbing fixtures is the largest cost driver in any bathroom remodel. Keeping your toilet, shower, and vanity in their existing locations avoids rerouting drain lines and supply pipes, which is the single most labour-intensive task in the project. If your layout works functionally, keep it. Only relocate fixtures when the current layout genuinely limits usability.
Obtain your permits and understand BC inspections
Most full bathroom renovations in Metro Vancouver require a building permit covering plumbing and electrical work. The permit process for renovations involves submitting drawings, paying a fee, and scheduling municipal inspections at defined stages. Pulling permits protects you legally and confirms your work meets BC Building Code standards. Unpermitted work can complicate home sales and void insurance claims.
Create your complete materials list before demolition
The following items should be confirmed and ordered before any demolition begins:
- Toilet, vanity, sink, and faucet
- Shower or tub unit and fixtures
- Tile selections for floor and walls, including grout colour
- Waterproofing membrane and backer board
- Lighting fixtures and exhaust fan
- Paint, trim, and door hardware
Pro Tip: Order tile with a 10% overage to account for cuts and breakage. Running out mid-project and finding your tile discontinued is one of the most common and avoidable delays.
What are the step-by-step construction phases in a bathroom remodel?
The remodel process follows a fixed sequence. Each phase depends on the one before it. Rushing a phase or reversing the order creates rework that costs more than doing it correctly the first time.
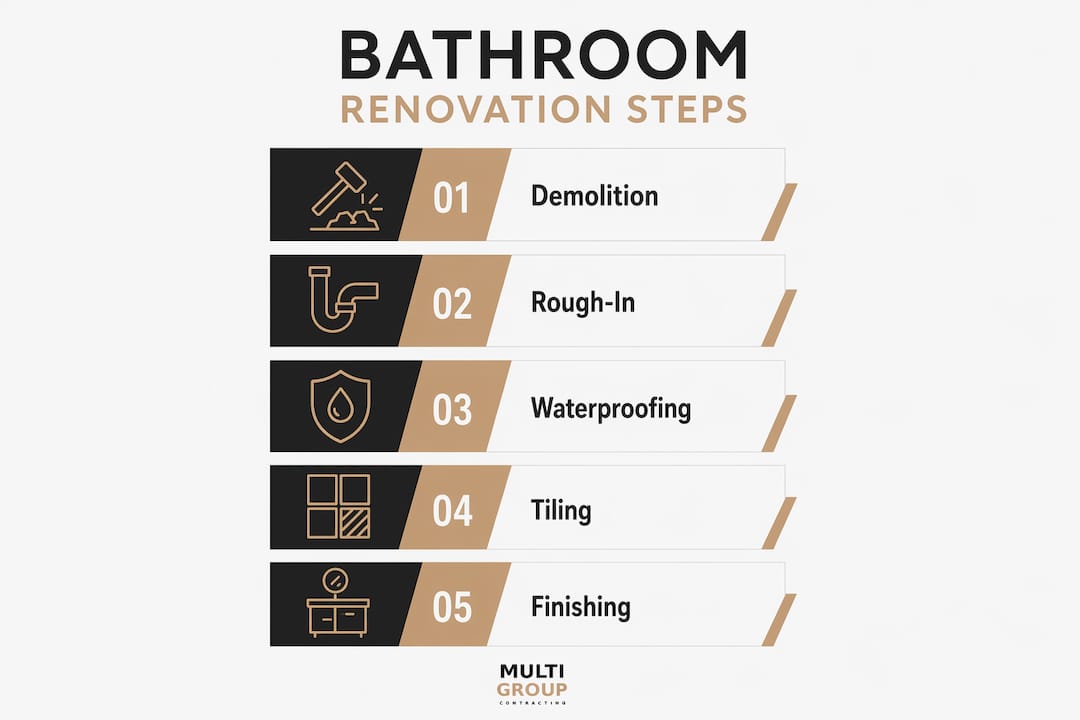
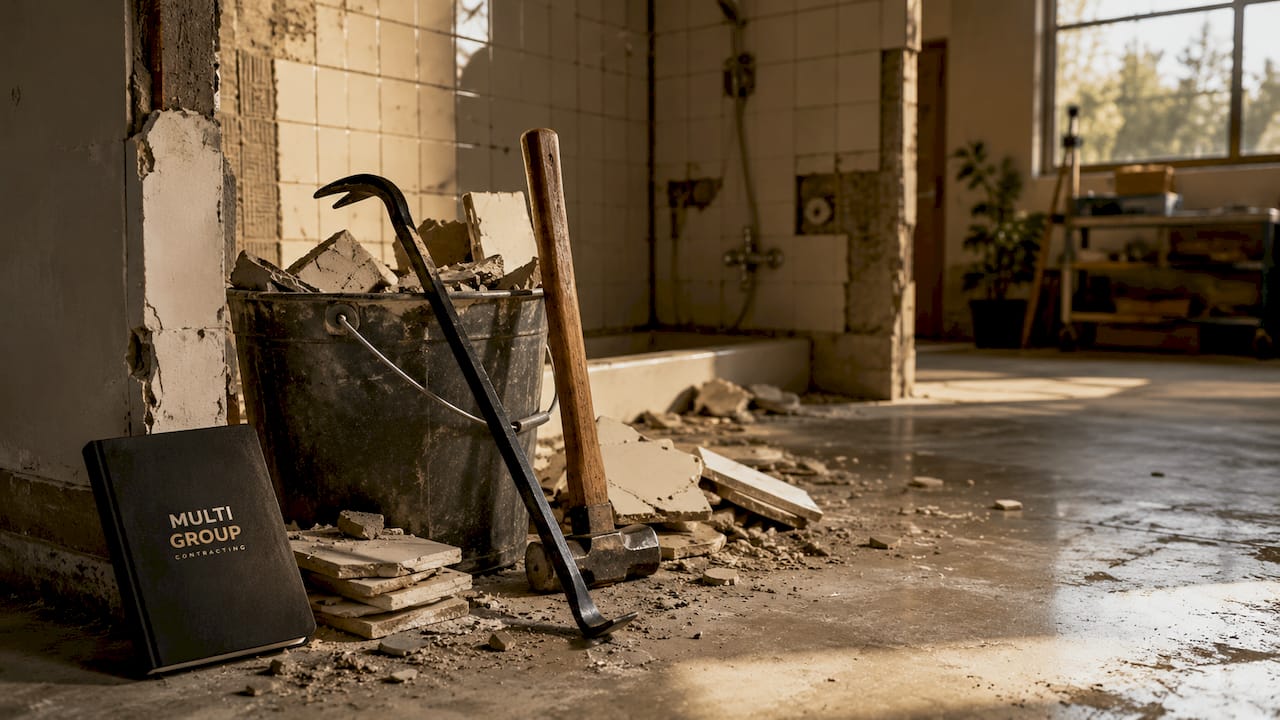
1. Demolition and site preparation (1–3 days)
Demolition involves removing existing fixtures, tile, drywall, and flooring. Demolition typically takes 1–3 days and almost always uncovers findings that affect project scope. Common discoveries include mould behind tile, rotted subfloor, or outdated wiring that does not meet current code. Wear a respirator, eye protection, and heavy gloves. Dispose of debris according to your municipality's waste guidelines.
2. Rough-in phase: plumbing, electrical, and framing (3–7 days)
The rough-in phase covers all work hidden inside walls and floors before they are closed up. This includes repositioning drain lines, running new supply pipes, installing electrical circuits for lighting and the exhaust fan, and framing any new partition walls. Rough-in work takes 3–7 days, with potential inspection corrections adding another 3–7 days if issues arise. Schedule your municipal rough-in inspection before closing walls. Inspectors must see all plumbing and electrical connections while they are still exposed.
Pro Tip: Consolidating all rough-in inspections into a single municipal visit reduces the risk of failed code reviews and avoids the scheduling delays that come with multiple inspection bookings.
3. Waterproofing: the most critical phase
Waterproofing is applied to the shower walls, floor, and any wet areas before tile is installed. Improper waterproofing is the leading cause of hidden water damage, often only detected years later when expensive structural repairs become unavoidable. A sheet membrane system, correctly lapped at corners and fully cured before tiling, is the accepted standard. Do not rush the curing period. Most membrane products require 24–48 hours before tile adhesive can be applied.
4. Backer board, drywall, and tiling
Cement backer board goes on shower walls before tile. Standard moisture-resistant drywall works for areas outside the wet zone. Tile installation follows a specific sequence: floor tile first, then wall tile, working from the centre of the wall outward. Grout is applied after tile adhesive has cured, typically 24 hours. Allow grout to cure fully before exposing the surface to water. Rushing this stage causes grout cracking and tile movement.
5. Fixture installation, painting, and finishing touches
Final fixture installation includes setting the toilet, connecting the vanity and sink, installing the shower door or curtain rod, and mounting lighting and the exhaust fan. Paint walls after tile is complete and before fixtures are installed to avoid masking and touch-up work. Caulk all joints between tile and fixtures with a mould-resistant silicone product. Install trim, door hardware, mirrors, and accessories last.
DIY versus professional trades: how do you decide?
The most successful bathroom renovations use a hybrid approach where homeowners handle demolition and painting while licensed professionals manage plumbing, electrical, and waterproofing. This split controls labour costs without exposing the project to the risks that come from unlicensed trade work.
Tasks suitable for DIY
- Demolition of tile, fixtures, and drywall
- Painting walls and ceiling
- Installing mirrors, towel bars, and accessories
- Basic flooring in non-wet areas
Tasks that require licensed professionals
- Plumbing relocation and new drain connections
- Electrical panel connections and new circuit installation
- Waterproofing membrane application in wet areas
- Any work requiring a permit and municipal inspection
The financial risk of DIY trade work is real. Failed DIY renovations often cost 20–30% more than the original budget because professional remediation of waterproofing or plumbing mistakes is expensive and disruptive. A licensed plumber or electrician charges more per hour than a general labourer, but their work passes inspection the first time and carries liability coverage.
Pro Tip: Get written quotes from at least two licensed trades before committing. Ask each contractor to specify what is and is not included in their scope so you can compare accurately.
The table below summarises the cost and risk profile for each approach:
| Task | DIY suitability | Risk if done incorrectly |
|---|---|---|
| Demolition | High | Low |
| Painting | High | Low |
| Tile installation | Moderate | Moderate (grout failure) |
| Waterproofing | Low | High (structural water damage) |
| Plumbing relocation | Not recommended | Very high (flooding, code failure) |
| Electrical rewiring | Not recommended | Very high (fire risk, code failure) |
For guidance on managing the full project process, the homeowner renovation management guide covers scheduling, trade coordination, and inspection readiness in detail.
What are the most common renovation challenges and how do you avoid them?
Most bathroom renovation problems are predictable. Knowing where projects typically go wrong lets you plan around those risks before they affect your timeline or budget.
"Delays and budget overruns most commonly occur when product selections are not finalised before demolition begins." This is the most preventable cause of construction stalls, and it costs homeowners both time and money.
The following issues account for the majority of mid-project setbacks:
- Supply delays: Tile, vanities, and plumbing fixtures ordered after demolition starts often arrive weeks late. Finalise all selections and confirm lead times before swinging a hammer.
- Hidden damage: Mould, corroded pipes, and rotted subfloor are discovered during demolition. Your 10–15% contingency fund exists precisely for this. Do not treat it as optional savings.
- Inspection failures: Inspectors reject work that does not meet BC Building Code. Scheduling all rough-in trades to be ready for a single inspection visit reduces the chance of a failed review and the rescheduling delays that follow.
- Scope creep: Homeowners frequently add features mid-project, such as heated floors or a second shower head. Each addition affects budget, timeline, and sometimes permits. Lock your scope before demolition and treat changes as formal amendments.
- Communication gaps: Contractors who do not receive clear direction from the homeowner make assumptions. Confirm decisions in writing and check in at each phase transition.
Key takeaways
A bathroom renovation succeeds when planning, permits, and trade sequencing are locked in before demolition begins.
| Point | Details |
|---|---|
| Plan before you demo | Finalise all product selections, permits, and layout decisions before starting demolition. |
| Budget with a contingency | Set aside 10–15% of your total budget for unexpected findings like mould or corroded pipes. |
| Keep plumbing in place | Avoiding fixture relocation is the most effective way to control labour costs. |
| Use a hybrid approach | DIY demolition and painting while hiring licensed trades for plumbing, electrical, and waterproofing. |
| Sequence phases correctly | Each construction phase depends on the one before it; rushing or reversing order creates costly rework. |
What I have learned from bathroom renovations in Metro Vancouver
The homeowners who have the smoothest renovations are not the ones with the biggest budgets. They are the ones who treat planning as construction work. By the time demolition starts, every fixture is ordered, every permit is approved, and every trade knows their schedule. That level of preparation is not common, but it is achievable.
The most expensive mistake I see repeatedly is homeowners underestimating waterproofing. It looks simple. It is not. A sheet membrane applied incorrectly at a corner joint will fail silently for two or three years before the damage becomes visible. At that point, you are looking at tile removal, subfloor replacement, and mould remediation. Hiring a licensed professional for waterproofing is not a luxury. It is the cheapest insurance available on a bathroom project.
The second pattern worth noting is fixture selection. Homeowners often choose fixtures based on appearance alone, without checking rough-in dimensions or drain locations. A toilet with a 12-inch rough-in will not fit a space designed for a 10-inch rough-in without moving the drain. Confirm the rough-in measurement before purchasing any toilet. The same principle applies to shower valves and tub spouts. Match the fixture to the existing rough-in wherever possible.
My honest recommendation for Vancouver homeowners is to work with a licensed contractor for at least the rough-in and waterproofing phases, even if you plan to handle demolition and finishing yourself. BC Building Code compliance is not negotiable, and a licensed contractor carries the liability coverage and inspection relationships that protect your investment long after the project is complete.
— MultigroupTeam
Bathroom renovations in Metro Vancouver: how Multigroup can help
Multigroup is a licensed general contractor serving Metro Vancouver, including Burnaby, Richmond, Surrey, Coquitlam, and North Vancouver. Bathroom renovations require precise trade coordination, permit management, and BC Building Code compliance at every phase. Multigroup handles all of that under one roof.

From permit applications and rough-in inspections to final fixture installation and finishing, Multigroup manages the full remodel process so your project stays on schedule and on budget. The team brings the same project management discipline to residential bathrooms as it does to commercial renovation projects across Metro Vancouver. Contact Multigroup to discuss your bathroom renovation and get a clear scope and timeline before work begins.
FAQ
How long does a full bathroom renovation take?
A full bathroom remodel typically takes three to six weeks from demolition to final inspection. The timeline depends on permit approval speed, trade availability, and whether unexpected issues arise during demolition.
Do I need a permit for a bathroom renovation in Vancouver?
Any work involving plumbing relocation, new electrical circuits, or structural changes requires a building permit in Metro Vancouver. Cosmetic updates like painting or replacing fixtures in the same location generally do not require a permit.
What is the most expensive part of a bathroom renovation?
Plumbing relocation is consistently the largest single cost in a bathroom remodel. Keeping fixtures in their existing locations is the most direct way to control the overall budget.
Can I do my own waterproofing to save money?
Waterproofing is not recommended as a DIY task. Improper waterproofing is the leading cause of hidden structural water damage, and failed DIY work often costs 20–30% more to remediate than hiring a professional from the start.
What should I finalise before demolition begins?
All fixture selections, tile orders, permit approvals, and trade schedules should be confirmed before demolition starts. Unfinished product selections before demo are the most common cause of supply delays and construction stalls.